Introduction
Static IP address printers offer a stable connection between your printer and Windows systems. With fixed IP addresses, static IP printers simplify network management, ensuring that devices on your network can consistently locate and communicate with the printer. In this article, we’ll explore how static IP addresses work, prepare your printer for static IP configuration, and provide a detailed guide to connecting static IP address printers to Windows. We’ll also include troubleshooting tips and advanced security considerations for a seamless experience.
Understanding Static IP Addresses and Their Importance
What is a Static IP Address?
A static IP address is an unchanging, permanent address assigned to a device on a network. Unlike dynamic IP addresses, which can change periodically, static IPs remain constant. This ensures that networked devices such as printers, computers, and servers can be reliably located and accessed.
Benefits of Using Static IP Addresses for Printers
Using a static IP address for your printer offers several advantages:
1. Consistency: Devices on your network always know where to find the printer.
2. Avoiding Conflicts: Fixed addresses prevent IP conflicts that can arise from dynamic address assignments.
3. Better Management: Static IPs facilitate easier network management, remote access, and troubleshooting.
These benefits collectively create a more efficient and reliable network printing environment.
Preparing Your Printer for Static IP Configuration
Gathering Necessary Information
Before configuring a static IP address for your printer, you’ll need to gather some information:
1. Your network’s IP range.
2. The subnet mask.
3. The default gateway.
4. The DNS servers.
This information can typically be found in your router’s settings.
Assigning a Static IP Address to Your Printer
Next, assign a static IP address to your printer:
1. Access your printer’s network settings.
2. Select the option to manually set an IP address.
3. Enter the IP address, subnet mask, gateway, and DNS information.
Make sure the IP address you choose is outside the DHCP range of your router to avoid conflicts.
Verifying Printer Network Compatibility
Lastly, ensure that your printer is compatible with your network:
1. Check the printer documentation for network compatibility and supported configurations.
2. Make sure your printer supports the protocols required by your network.
Proper verification prevents connectivity issues and ensures seamless setup.

Step-by-Step Guide to Connecting Static IP Address Printers to Windows
Adding the Printer Using Windows Settings
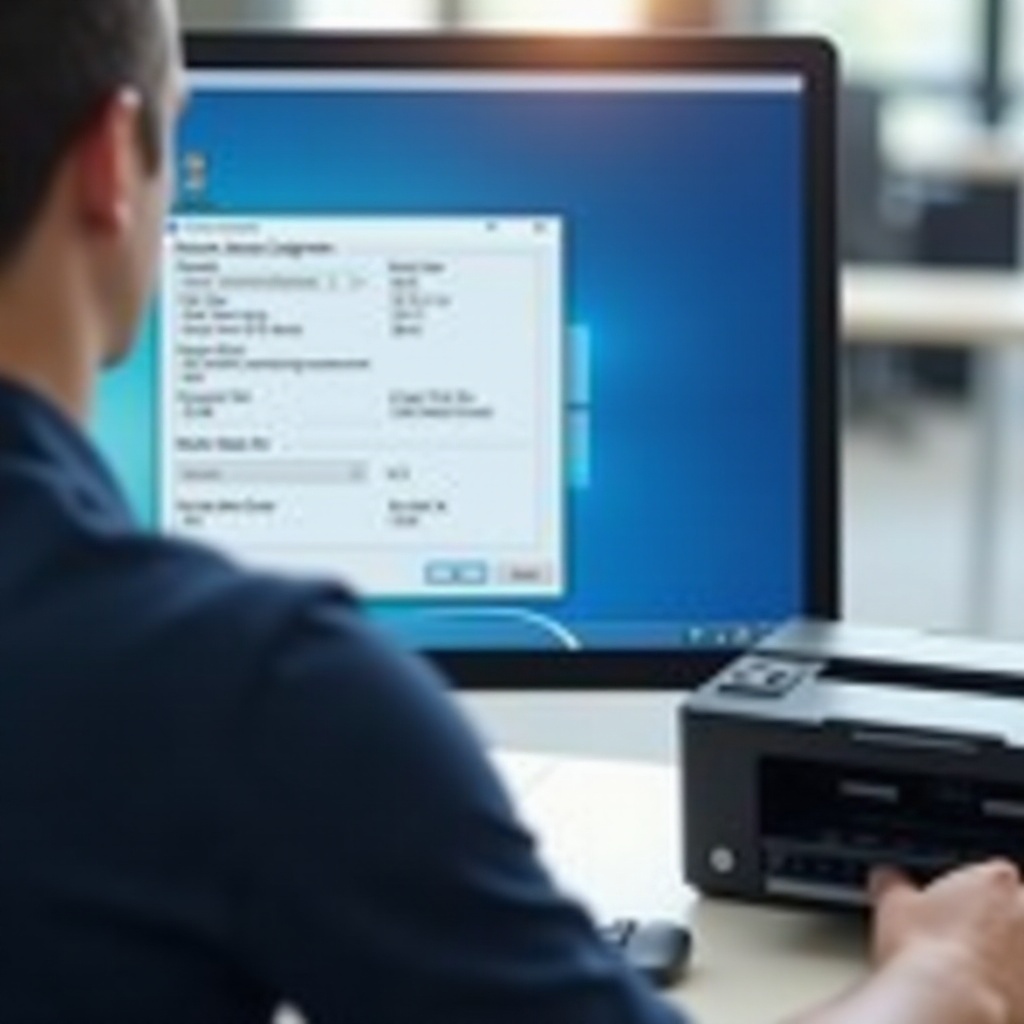
- Go to Settings > Devices > Printers & scanners.
- Click on Add a printer or scanner.
- Select the option for manual setup and enter the printer’s static IP address.
This step directs Windows to the printer using the static IP, ensuring a stable connection.
Manual IP Address and Driver Configuration
- If Windows doesn’t automatically find the driver, download the driver from the printer manufacturer’s website.
- Run the downloaded driver setup and follow the instructions to install.
- During installation, select the option for a network printer and enter the static IP address when prompted.
Ensuring the correct driver installation is crucial for communication between your Windows system and the printer.
Testing Printer Connectivity
- Print a test page from Windows settings to ensure the printer is connected.
- Check for consistent performance and availability: try printing from different applications to ensure the printer responds correctly.
Testing solidifies that your setup is correct and the printer is ready for reliable use.
Troubleshooting Common Issues
Addressing IP Conflicts
If you encounter IP conflicts:
1. Verify the IP address is unique and outside the router’s DHCP range.
2. Check that no other device on the network is using the same static IP address.
Resolving Connectivity Issues
If the printer is not connecting:
1. Ensure the network cable is secure, or if wireless, check the Wi-Fi connection.
2. Reboot the printer and Windows system.
Ensuring Consistent Printer Availability
To maintain consistent availability:
1. Regularly check network settings and ensure no changes affect the printer’s IP address.
2. Monitor network performance for any issues that might cause printer unavailability.
Advanced Configuration and Security Considerations
Securing Your Network Printer
Secure your network printer to prevent unauthorized access:
1. Configure strong passwords for printer settings.
2. Enable encryption protocols like WPA3 for wireless printers.
Managing Firewall Settings
Adjust firewall settings to allow printer communication:
1. Add exceptions for the printer’s static IP address.
2. Ensure relevant ports (e.g., 9100 for HP JetDirect) are open.
Proper security measures protect your printer and sensitive data from potential threats while ensuring smooth operation.
Conclusion
Connecting static IP address printers to Windows systems enhances reliability and network efficiency. By understanding and configuring a static IP, you can ensure seamless and consistent printer communication within your network. Regularly maintain your network settings to prevent conflicts and implement robust security measures for better protection and performance.
Frequently Asked Questions
Can I change the Static IP address of my printer?
Yes, you can change the static IP address by accessing the printer’s network settings and entering a new IP address, along with the necessary subnet mask and gateway.
What should I do if my printer is not detected by Windows?
First, check if the printer is powered on and properly connected to the network. Ensure the static IP address is correctly entered and that it doesn’t conflict with other devices. Restart both the printer and your Windows system.
How does using a Static IP address benefit printer management?
Using a static IP ensures consistent connectivity, avoids IP conflicts, facilitates easier network management, and helps in remote troubleshooting, making overall printer management more efficient.